DIY Bathroom Shelf Styles and Designs
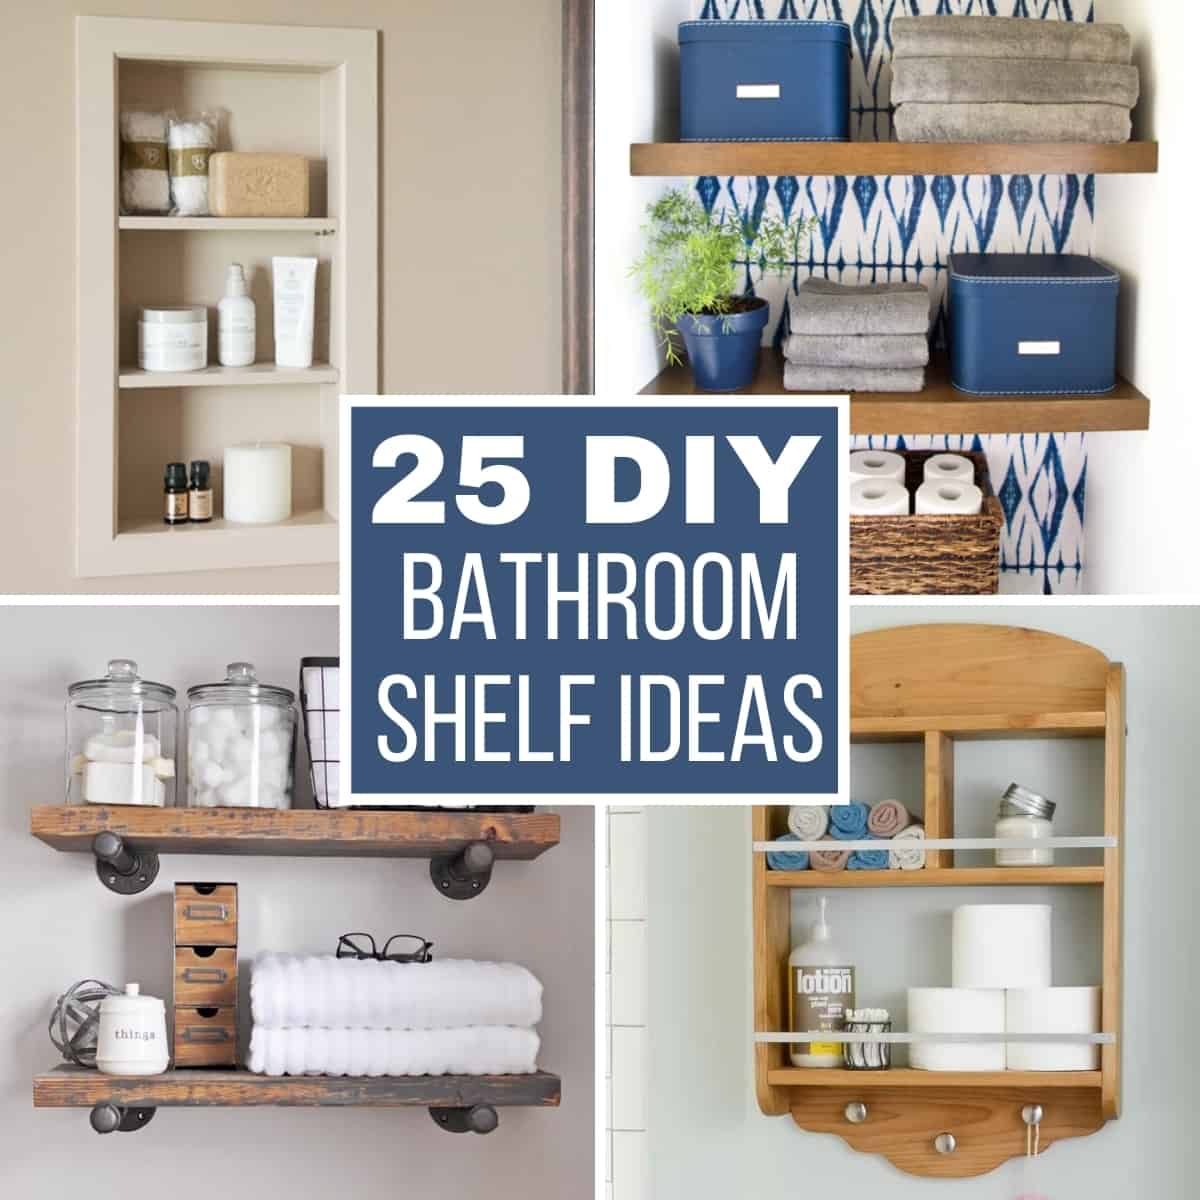
Transforming your bathroom into a haven of style and functionality is achievable with the addition of DIY bathroom shelves. These versatile storage solutions offer a unique opportunity to express your personal style while optimizing space and organization.
Popular Bathroom Shelf Styles
Bathroom shelf styles cater to diverse needs and aesthetics. The choice of style depends on factors like available space, storage requirements, and desired aesthetic. Here are some popular bathroom shelf styles:
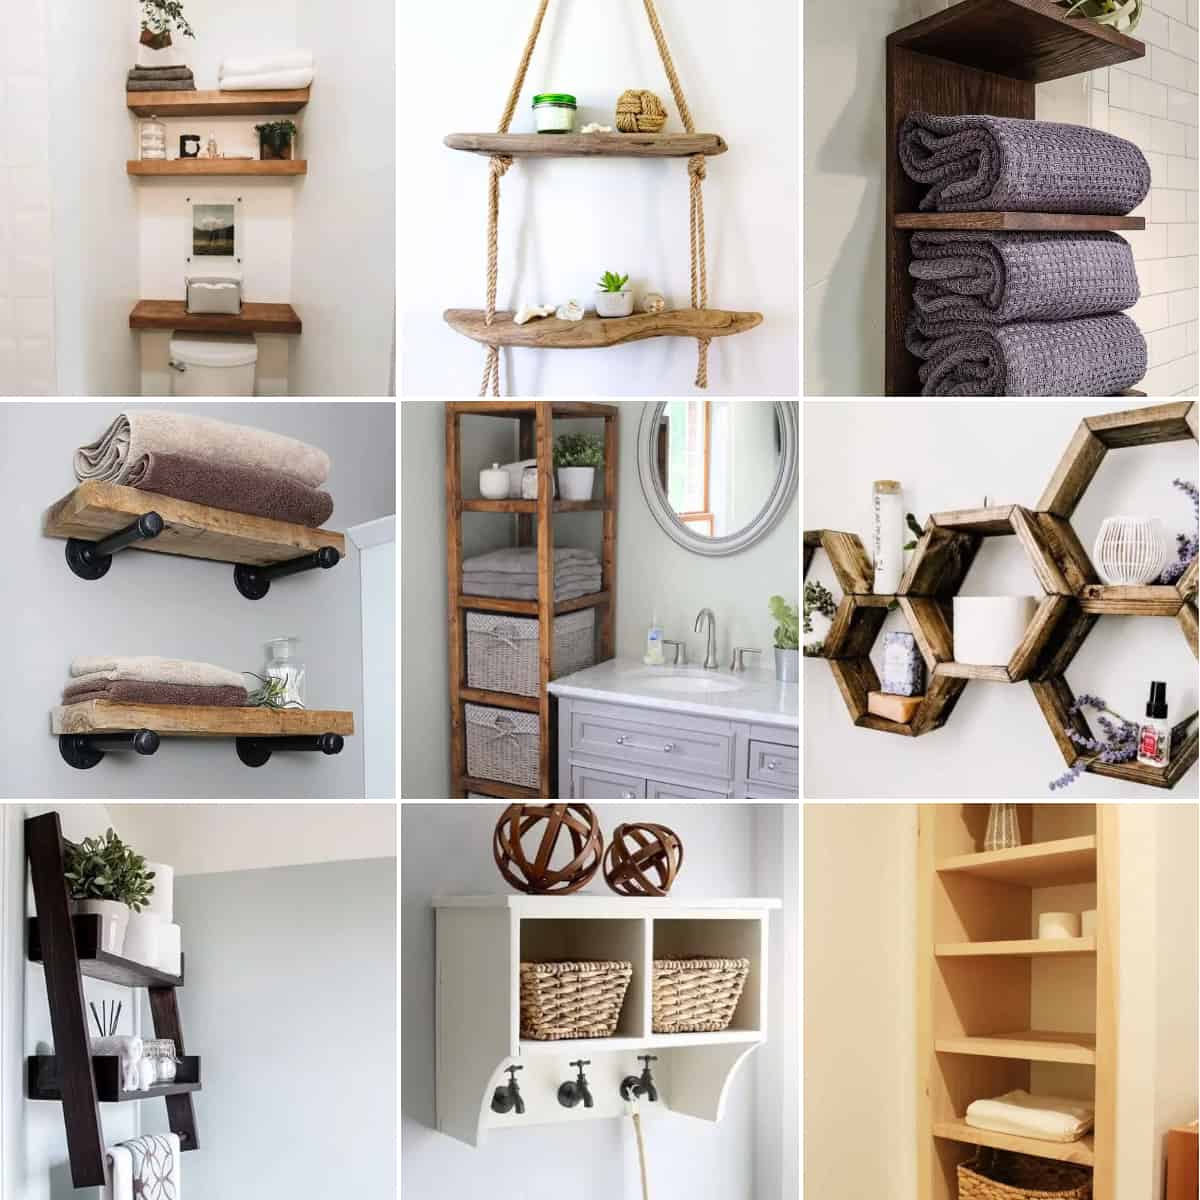
- Floating shelves: These shelves create a sleek and minimalist look, appearing to float on the wall. They are ideal for showcasing decorative items, toiletries, and towels, while maximizing visual space.
- Corner shelves: Corner shelves efficiently utilize often-neglected space in the bathroom. They are perfect for storing toiletries, towels, or decorative items, adding a touch of charm to the corner.
- Wall-mounted shelves: These shelves offer a traditional and reliable storage solution, offering flexibility in placement and design. They are available in various sizes and materials, allowing for customization to fit specific needs.
- Ladder shelves: Ladder shelves are a stylish and practical choice for adding vertical storage to the bathroom. They offer a unique and modern aesthetic, providing ample space for towels, baskets, and decorative items.
Creative DIY Bathroom Shelf Designs
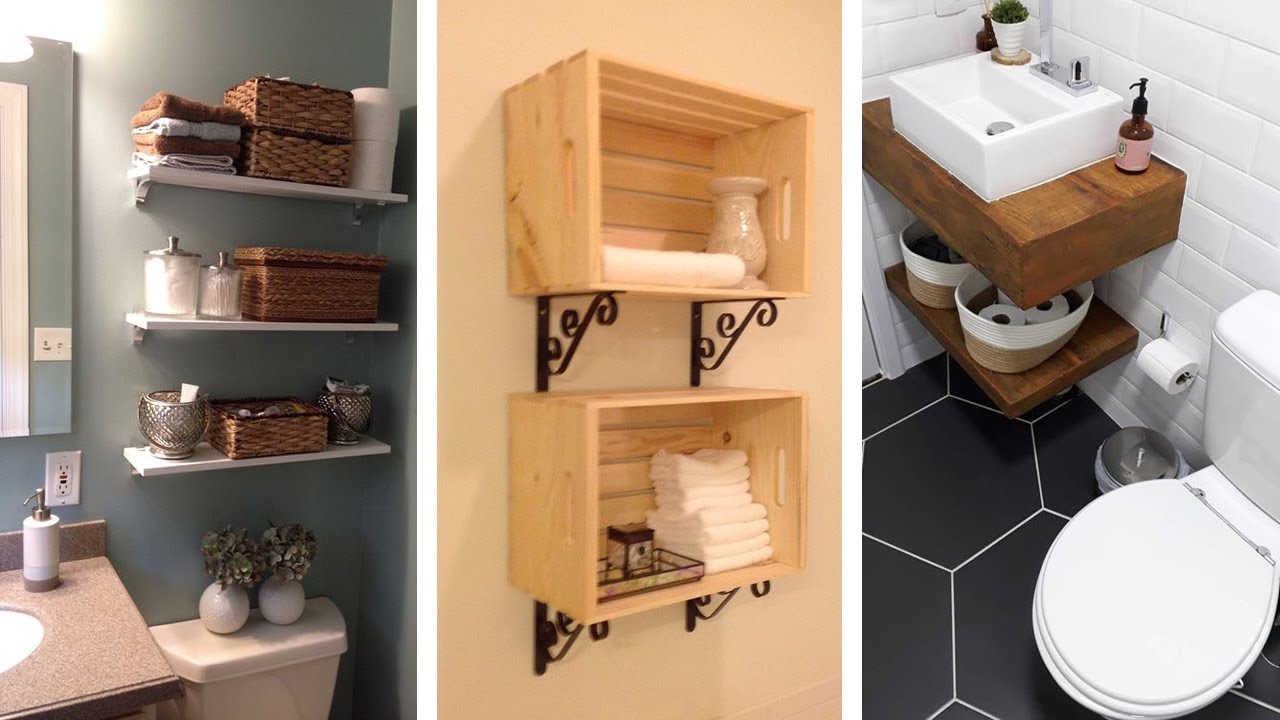
Beyond conventional styles, DIY bathroom shelves allow for unique and creative designs that reflect personal preferences. Here are some examples:
- Reclaimed wood shelves: Utilizing reclaimed wood, such as salvaged pallets or old furniture, adds a rustic charm to the bathroom. The natural imperfections of the wood contribute to a unique and eco-friendly design.
- Industrial pipe shelves: Combining metal pipes and wood planks creates a modern industrial look. This style complements minimalist or contemporary bathroom designs, offering a sturdy and functional shelf solution.
- Glass shelves: Glass shelves provide a sleek and elegant touch, enhancing the bathroom’s visual appeal. They are particularly suitable for displaying decorative items, toiletries, or showcasing a collection.
Advantages and Disadvantages of Different Shelf Styles
The choice of shelf style depends on the specific needs and layout of your bathroom. Each style offers unique advantages and disadvantages:
| Style | Advantages | Disadvantages |
|---|---|---|
| Floating shelves | Sleek and minimalist, maximize visual space, easy to install | Limited weight capacity, require sturdy wall anchors |
| Corner shelves | Efficient use of space, add visual interest to corners, easy to install | Limited storage space, may not be suitable for heavy items |
| Wall-mounted shelves | Versatile, available in various sizes and materials, can be customized | May require more complex installation, can appear bulky |
| Ladder shelves | Stylish and modern, provide ample storage space, add a unique touch | May require more space, can be difficult to install |
Materials for DIY Bathroom Shelves
The choice of material significantly impacts the style and durability of your DIY bathroom shelves. Here are some common materials:
- Wood: Wood is a versatile material, offering a wide range of styles and finishes. It is readily available and relatively easy to work with, making it a popular choice for DIY projects.
- Metal: Metal, particularly steel and iron, offers durability and a modern aesthetic. It can be combined with wood or glass to create unique and functional shelves.
- Glass: Glass shelves provide a sleek and elegant look, enhancing the bathroom’s visual appeal. They are particularly suitable for displaying decorative items or showcasing a collection.
- Reclaimed materials: Utilizing reclaimed materials, such as salvaged pallets or old furniture, adds a rustic charm to the bathroom. It is an eco-friendly option that contributes to a unique and sustainable design.
Simple and Stylish DIY Bathroom Shelf
Here’s a simple and stylish bathroom shelf design using readily available materials and basic woodworking tools:
Materials:
– 1 x 12-inch pine board (cut to desired length)
– 2 x 2-inch pine boards (cut to desired length for shelf supports)
– Wood stain or paint (optional)
– Wood glue
– Screws
– Drill
– Measuring tape
– Level
– Sandpaper
Instructions:
1. Cut the pine board to your desired length for the shelf.
2. Cut the 2 x 2-inch pine boards to the desired length for the shelf supports.
3. Sand the edges of all the wood pieces to smooth them.
4. Stain or paint the wood pieces (optional).
5. Apply wood glue to the ends of the shelf supports and attach them to the underside of the shelf.
6. Use screws to secure the shelf supports to the shelf.
7. Use a level to ensure the shelf is straight before attaching it to the wall.
8. Drill pilot holes into the wall and attach the shelf to the wall using screws.
Step-by-Step DIY Bathroom Shelf Projects: Diy Bathroom Shelf Ideas
Building your own bathroom shelves is a rewarding and cost-effective way to add storage and style to your space. Whether you’re looking for a simple floating shelf, a rustic ladder shelf, or a more elaborate design, these step-by-step guides will help you create beautiful and functional bathroom storage solutions.
Building a Simple Floating Shelf, Diy bathroom shelf ideas
Floating shelves create a minimalist and modern look while maximizing space. Here’s how to build one using plywood and brackets:
- Gather your materials:
- Plywood (thickness depending on desired shelf depth)
- Floating shelf brackets (ensure they are compatible with the plywood thickness)
- Wood screws
- Measuring tape
- Level
- Pencil
- Drill
- Safety glasses
- Cut the plywood:
- Measure the desired length and width of your shelf.
- Using a saw, carefully cut the plywood to the desired dimensions. Be sure to wear safety glasses.
- Mark bracket placement:
- Decide on the height you want the shelf to be.
- Measure and mark the wall where the brackets will be installed. Use a level to ensure the marks are straight.
- Install the brackets:
- Using a drill, create pilot holes for the screws at the marked locations.
- Securely attach the brackets to the wall using the provided screws.
- Attach the shelf:
- Carefully place the shelf on top of the brackets, ensuring it is level.
- Secure the shelf to the brackets using wood screws. Make sure the screws are long enough to go through the shelf and into the brackets.
Tips and Techniques for Successful DIY Bathroom Shelves
Building DIY bathroom shelves can be a rewarding project, allowing you to customize your space and save money. To ensure a successful outcome, it’s essential to understand the necessary tools, techniques, and considerations for creating durable and aesthetically pleasing shelves.
Essential Tools and Equipment
Having the right tools is crucial for building bathroom shelves. These tools will enable you to measure, cut, assemble, and finish your shelves efficiently and safely.
- Power Tools: A circular saw or a jigsaw is essential for cutting wood to size. A drill with various drill bits is needed for creating pilot holes and attaching fasteners. A sander, either handheld or orbital, is useful for smoothing surfaces and achieving a polished finish.
- Hand Tools: A tape measure, level, pencil, and a combination square are essential for accurate measurements and marking. A hammer is required for driving nails or brads. A screwdriver set is necessary for attaching screws and other hardware.
- Safety Gear: Eye protection, such as safety glasses, is crucial for protecting your eyes from sawdust and debris. Hearing protection, like earplugs or earmuffs, can help reduce noise levels during cutting and drilling. Gloves provide protection from splinters and rough surfaces. A dust mask is important for minimizing the inhalation of dust and particles during sanding.
Measuring, Cutting, and Assembling Wood
Accurate measurements and proper cutting techniques are essential for creating shelves that fit perfectly and look professional.
- Measuring: Carefully measure the space where you want to install your shelves. Consider the width, depth, and height of the shelves. Account for any obstructions, such as pipes or electrical outlets.
- Cutting: Use a circular saw or jigsaw to cut the wood to the desired dimensions. Make sure to use a straight edge or a guide to ensure accurate cuts. For intricate shapes, a jigsaw is a better option.
- Assembling: Follow the chosen shelf design to assemble the individual pieces. Use wood glue and screws for a strong and durable bond. Pre-drill pilot holes before driving screws to prevent wood from splitting.
Selecting the Right Hardware and Fasteners
Choosing the right hardware and fasteners is crucial for ensuring that your shelves are securely mounted and can withstand the weight of your bathroom items.
- Shelf Brackets: Choose sturdy shelf brackets made of metal or wood that can support the weight of your items. The size and strength of the brackets should match the size and weight capacity of the shelves.
- Fasteners: Select screws or nails that are appropriate for the type of wood and wall material. For example, drywall anchors are needed for attaching shelves to drywall. Use screws that are long enough to penetrate the wall securely.
Finishing Techniques
After assembly, you can enhance the appearance and durability of your shelves with various finishing techniques.
- Sanding: Sand the shelves with progressively finer grits of sandpaper to remove any rough edges, imperfections, and saw marks. This creates a smooth surface for staining or painting.
- Staining: Staining adds a natural color and enhances the wood’s grain pattern. Choose a stain that complements your bathroom’s decor. Apply stain evenly with a brush or cloth, following the manufacturer’s instructions.
- Painting: Painting provides a durable and colorful finish. Select a paint that is specifically designed for bathrooms, as it will resist moisture and mildew. Apply multiple coats for a smooth and even finish.
- Sealing: Apply a sealant to protect the shelves from moisture and stains. Choose a sealant that is compatible with the stain or paint you used. Apply the sealant evenly with a brush or cloth.
Common Mistakes to Avoid
By avoiding common mistakes, you can ensure a successful and satisfying DIY bathroom shelf project.
- Inadequate Support: Ensure that the shelf brackets are strong enough to support the weight of the items you plan to place on the shelves.
- Improper Fasteners: Use fasteners that are appropriate for the type of wall material and the weight of the shelves.
- Uneven Installation: Use a level to ensure that the shelves are installed evenly.
- Insufficient Sanding: Thorough sanding is essential for a smooth and even finish.
- Skipping the Sealant: Applying a sealant protects the shelves from moisture and stains.
DIY bathroom shelf ideas are all the rage right now, adding a touch of personality and functionality to your space. Want to elevate the look? Consider a statement piece like a vigo bathroom vessel faucet , which adds a touch of modern elegance.
Then, style your shelves with lush greenery, fragrant candles, and maybe even a few of your favorite books for a zen-like bathroom retreat.
DIY bathroom shelf ideas are all the rage right now, and it’s easy to see why. They’re a great way to add some personality to your space, and they can be super functional. But don’t forget about the smaller details, like your bathroom faucet fixtures! If they’re looking a bit tired, check out this guide on painting bathroom faucet fixtures – it’s a quick and easy way to give your bathroom a whole new vibe.
Once your faucets are looking fresh, you can really go wild with those DIY bathroom shelves!
